Maintenance Best Practices for Hand-held Plasma Cutting Systems
By Tim Taylor, district manager, Victor Technologies
The THERMAL DYNAMICS® TRUE™ Series of CUTMASTER hand-held plasma
cutting systems take true cutting power, portability, multi-voltage
flexibility and “field-proven” protection to new levels. However, that
doesn’t give owners a pass on taking care of their equipment.
A plasma cutter needs clean air and electricity to operate. A good maintenance routine checks these points, ensures the machine functions as intended and does it on a set schedule. Below is a maintenance schedule that will help ensure your plasma cutter operates at peak output for years to come. Note that in extreme environments, especially those with dust, dirt and moisture, you should increase inspection frequency.
DAILY OPERATION CHECKS (or every six hours of use)
Primary power. Set the voltage selector controls, jumpers and similar components to match primary power voltage and phase before turning on the power. Don’t assume the last operator left everything in proper order. Note that CUTMASTER multi-voltage models have a convenient “Hi-Lo” switch on the back of the unit (see Fig. 1).
Air/gas source. Purge the compressed air or gas line to remove
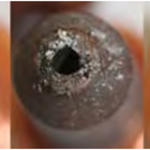
moisture that might have built up overnight. Torch tip. Check the torch
tip and replace as required. Worn orifices become oblong, irregular and
pitted, all of which hinder the ability to cut without excessive dross
and maintain a precise, narrow kerf for accuracy. Shown in Fig. 2 (L-R):
a new tip, a used tip with some life remaining and a worn tip that
should be discarded.
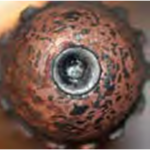
Electrodes. Electrode tips contains a special element (hafnium) that
promotes arc starts. Each arc start consumes a minute amount of this
element. Replace the electrode when worn more than 1/16th of an inch, as
shown in Fig. 3.
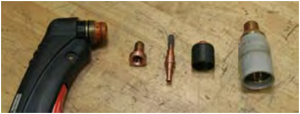
Proper Reassembly. CUTMASTER torches are simply to reassemble because
they only have four components, as shown in Fig. 4 (L-R): torch,
cutting tip, electrode, start cartridge and shield cup.
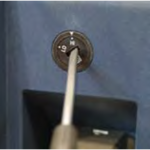
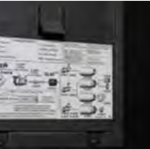
Assembly Guidelines. The side of every CUTMASTER case features visual
diagrams and troubleshooting help (see Fig. 5). Note that most problems
with plasma cutters aren’t really problems. They’re simply torch
consumables that are worn or re-assembled improperly.
WEEKLY (or every 30 hours of cutting)
Start cartridge. Test the springs (shown in Fig. 6) and replace the
start cartridge if the spring seems weak, as worn springs lead to poor
arc starts. Torch. Inspect the torch for cracks or exposed wires, and
check the shield cup for spatter. Repair or replace as required. Fan.
Check the cooling fan for proper operation and unobstructed airflow;
vacuum or blow out the fan as needed.
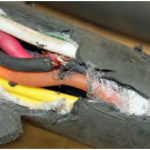
Cables and hoses. Check cables and hoses for cracks and leaks. If
worn or damaged (see Fig. 7), discard and replace them. Do not attempt
to repair them, as this may create a safety hazard, especially with
cables carrying cutting power.
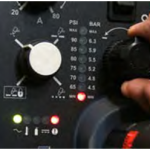
Check air pressure. Too little or too much pressure (refer to the
operator’s manual for proper settings) hinders performance and reduces
consumable life. Note that the CUTMASTER uses troubleshooting LEDs (Fig.
8) to indicate air pressure faults, which helps diagnose problems.
EVERY THREE MONTHS
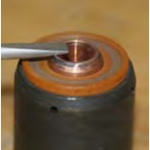
Parts. Replace all broken parts. Torches are meant to last a long
time—that’s why CUTMASTER torches have a one-year warranty—but don’t use
the shield cup as a chipping hammer. The cup is sturdy, but the torch
has electrical connections inside of it. Also, just finger-tighten the
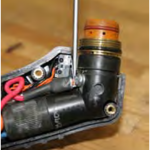
shield cup, as over-tightening can create a false cup-related fault (see
Fig. 9, which shows the limit switch for the “Parts in Place” fault).
Clean. Clean the exterior of the power supply.
EVERY SIX MONTHS (or 720 hours of cutting)
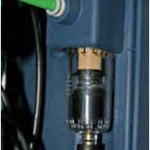
Filters. Check the internal air filter (see Fig. 10) and clean or
replace as required. If moisture or oil, such as from reciprocating air
compressors, seeps into the air system, it can cause problems with arc
starts, create an intermittent “sputtering” arc and premature electrode
wear (look for burn marks that swirl up the electrode). For air supplies
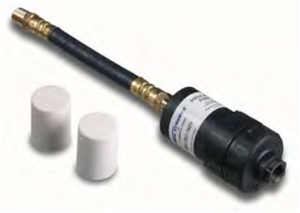
without a filter/dryer, install an external in-line air filter to
support the cutter’s internal filter (see Fig. 11).
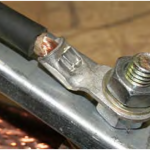
Work or ground clamps. Use a good, strong clamp and check the
cable-to-clamp connection (see Fig. 12). Loose connections can really
affect cutting current, and they’re often overlooked. Also, be sure to
clamp to clean, bare metal and clamp as near to the work piece as
possible. Poor grounding causes a huge amount of problems that people
incorrectly blame on the plasma cutter.
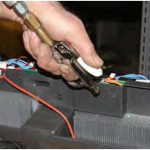
Remove built-up debris. Remove the machine covers, vacuum out debris and use shop air to blow out dust. Pay attention to the spaces cooling fins (see Fig. 13), which can trap debris.
Contactor points. Check all contactors and electrical connections for signs of severe arcing or pits, replacing components as necessary. Clean and blow off with shop air as needed.
Note that metal grinding dust can affect electronic components and lead to short circuits. To minimize their impact, angle grinders to direct sparks away from the machine.
CUTMASTER plasma cutters set the standard for durability, but sooner or later any machine will fail with neglect. Take a few minutes to check the plasma cutter at the start of each day, stick to the maintenance routine outlined in the operator’s manual* and chances are your CUTMASTER will never see a repair tech’s workbench.
